Teenage Engineering Guide https://teenage.engineering/guides/op-1/original/main-modes
Good videos
- Red Means Recording Youtube series: Introduction to OP-1 https://www.youtube.com/watch?v=fB3NVnONcFE
- Cyberattack: https://www.youtube.com/watch?v=pCJbra29sIM
- Andrew Huang: https://www.youtube.com/watch?v=yuXq3gBQ0dI
Components
- Synthesiser engines
- Sampler, sampler for drums
- Effects
- Sequencer modes
- 4-track recorder
- Radio
- Built-in mic and line-in
- Sound line-out
Synthesiser
Shift + Synth button: Undo edits and tweaks that you made to the sound and revert to preset Each sound is built up from four modules located under T1-T4 keys.
Press the synth key, then select a sound from 1-8, then use T1-T4 to shape the sound.
When pressing keys on the musical keyboard, the pitch of the synth sound sample changes.
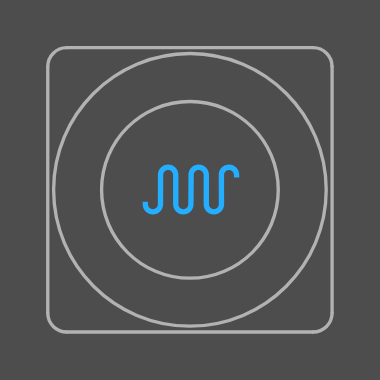
T1 - Synth engine
Shift + T1 - Choose basic synth engine in the browser screen. (scroll with blue wheel, press T1 to select) She synth engine’s visual is always located under T1 and is also the first screen that will show up when you change or select a sound.
Different synth engine presets
- FM – Frequency modulation synthesis made easy. This is the type of engine that is found in the classic DX7 synthesizer.
- Cluster – Up to six oscillators chained in a cluster.
- Dr wave – Raw 8-bit style engine.
- Digital – Pure digital raw engine.
- String – Physical modeling of a string instrument.
- Pulse – Square wave engine.
- Phase – Phase distortion type engine.
- Dsynth – Dual oscillator.
- Voltage – Multi oscillator electric synthesis.
- Dna – Cpu id noise synthesis.
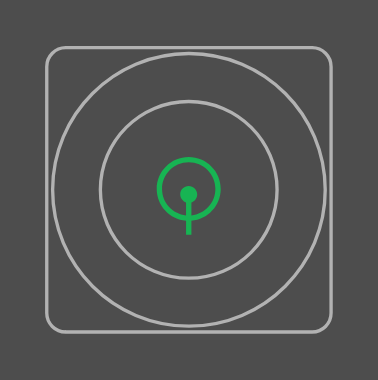
T2 - ADSR envelope
To shape the envelope, press T2. The envelope controls the amplification of a sound and is triggered when a note is played. Shape the Attack, Delay, Sustain, Release by twisting the four colour wheels. Shift + T2 - Playmode: Polyphonic, monophonic, legato, unison. Portamento parameter setting.
T3 - Effects
To add an effect, press T3. To toggle effect on/off an effect, press T3 again. Shift + T3 - Choose/change effects. Scroll with blue wheel, confirm selection with T3.
T4 - Modulation (LFO)
The LFO let’s you modulate any synth engine, envelope or effect parameter. Press T4 to add an LFO to a sound. To toggle LFO on/off, press T4 again. Shift + T4 - Choose modulation, e.g. crank, random, midi (route external MIDI cc to the OP-1), element (use external elements like the built-in microphone or radio to modulate sound).
Changing sounds
Buttons 1-8 = 8 slots that hold synth or sampler presets Press any button 1-8 and it’s an instant access key to to select a sound. Shift + 1-8 - Shows list of available presets. Blue = engine type, green = preset choices.
_Note: The difference between changing just the a synth engine (Shift + T1) and a sound (Shift + 1-8) is that the latter changes all four T1-T4 settings. _
Saving sounds
Option 1: Save a sound from 1-8 by pressing the key for 5 seconds. A file will be stored in the snapshot folder, names with date and time. Option 2: Dump on tape. In synth or drum mode, press lift key, switch to tape, locate empty space, press drop key. The sound will now be converted to sound data.
To locate your files on a computer, connect OP-1 to your computer and press Shift + COM. Select disc mode. All sounds, album recordings, tape tracks and snapshots show up as .aif files.
Drum
Shift + Drum button: Undo edits and tweaks that you made to the sound and revert to preset.
==Similar to synth mode, but used for shorter drum/percussion sounds.== Sounds can be loaded either into the drum engine (drum) or made using a drum synth (dbox).
As in synth mode, press the drum key, then select a sound (drum-kit) from 1-8, then use T1-T4 to shape the sound.
- T1 - drum engine
- T2 - dynamic envelope
- T3 - effect
- T4 - LFO/G-force
T1 - drum sampler engine
Drum sampler has 12 seconds of recording time (synth sampler has 6 seconds). It lets you lay out parts of the sample to dedicated keys on the musical keyboard.
Basic concept: Record all drums in a row and keep that recording to 12 seconds. Then set in and out points of that recording and dedicate the sounds to certain keys on the musical keyboard.
Laying out the drum kit
- Press a key on the musical keyboard.
- Set the in point of the sample by turning the green wheel. (Shift + green = fine tune)
- Set the out point by turning the white wheel. (Shift + white = fine tune)
- Blue wheel: change pitch.
- Red wheel: toggle repeat on/off. (Shift + red = set volume level)
T2 - dynamic envelope
Blue = attack, green = mid level, white = release, red = adjust region.
Importing your own sounds
Audio file should be max. 12 seconds long. Save the sound file as .aif. Transfer the file to the user folder located inside the drum folder.
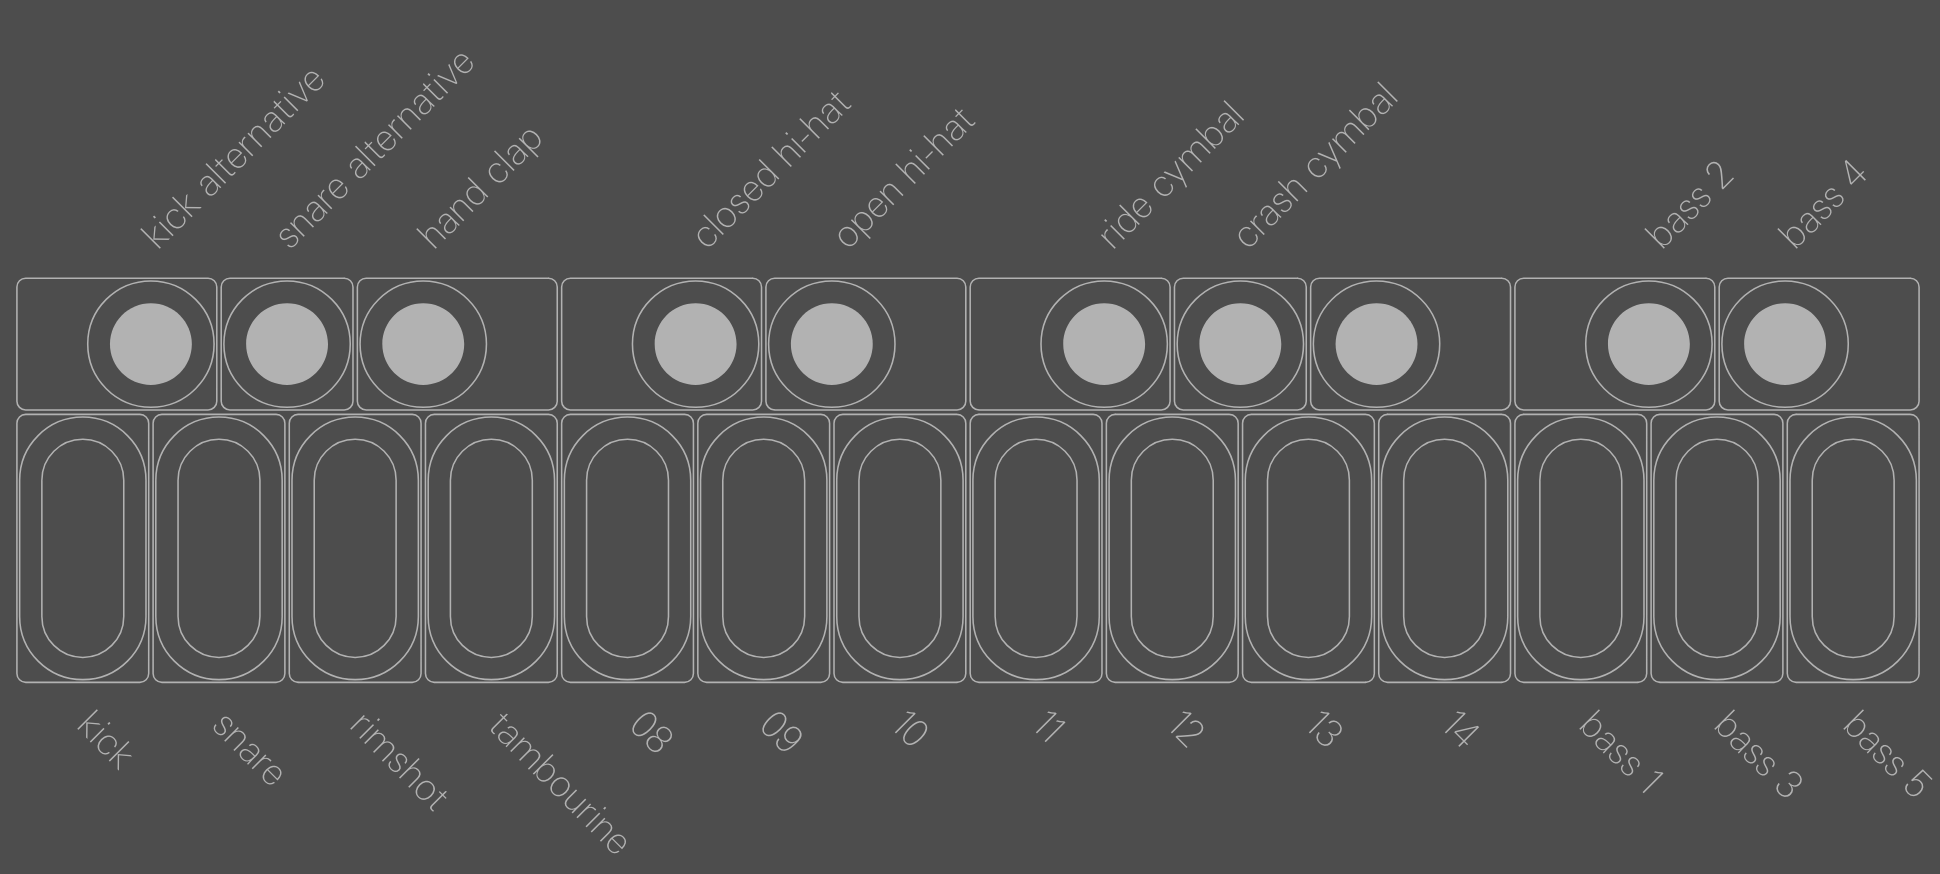
Standard drum layout
It’s a good habit to lay out drums in the same order.
D-BOX drum engine
Dual oscillator synthesizer, convenient for producing drum sounds. Blue = pitch Green = adjusts waveform White = adjusts envelope, Shift + white = secondary oscillator Red = cross modulation, Shift + red = filter cutoff frequency
Save a sound from 1-8 by pressing the key for 5 seconds. A file will be stored in the snapshot folder, names with date and time.
Sequencer

OP-1 has four original sequencers that let you arrange notes in different ways. Both synthesiser and drum mode have their own dedicated sequencer memory. The big difference between the tape and a sequencer is that tape produces a pure audio recording, while a sequencer stores note data.
Shift + sequencer key = enter the sequencer browser screen. Select with blue, then press sequencer key again to exit.
Sequencer modes
Arpeggio
Press and hold chord notes and arpeggio will distribute these in time. Additional notes can automatically be added based on type.
- Blue = set tempo. T gives triplet notes.
- Green = trigger mode. Based on type, notes are added to your chord in different ways. None, no additions. Once, note added to last note played. Each, each notes gets addition in sequence. All, sequence is played in whole. Trig, emphasis on the first note played.
- White = trigger pattern. Dote means note will be triggered, dash means the step will be paused or skipped.
- Red = continuous playback (hold).
- Shift + blue = note length (1-64)
- Shift + green = set type. The additional notes added to the chord is based on type selected. Type 0: octave up. Type 1: octave up + down. Type 2: +7, +9, -5. Type 3: 2, 4, 5, 7, 9.
- Shift + white = pause/skip trigger. ⇒ Means that any dashed step will be skipped. || means that any dashed step will be silent/paused.
Endless
Effective way to get sequencing done quickly.
Make a sequence containing 1-128 notes. When you have the sequence, just press any key on the musical keyboard to play it in the pitch of that note (i.e. key transposition).
- Shift + any key on musical keyboard to store a note. It automatically moves one step forward when you release the key. Hold Shift until you’re done, then release.
- Press any key on the musical keyboard to play your sequence.
- Blue = Change tempo (1/4, 1/8, etc.)
- Green = Swing. Slightly alter the timing of notes. No swing = 50%. (Works only for tempo 1/8 or 1/16)
- White = Apply a pattern to your sequence. Single dot = no pattern applied. Shift + white = rotate the dots within the pattern.
- Red = switch between continuous (hold) and non-continuous.
- Insert long notes: Shift + musical key + >. Press the forward key a few times to make the note longer, while keeping the musical key pressed.
- Insert space (pause): Shift + >
- Delete last note: Shift + <
- Shift + red = switch between the notes in the sequence being played back in right order, in reverse order, or in random order.
- Shift + blue = crank mode. Gives you a manual, music-box style playback control.
- Change octaves with > and < keys while playing the sequence.
Finger
Lets you play two sequences in combination with one another. Works the same in synth and drum mode.
Each white key on the musical keyboard represents a pattern. White crosses = notes triggered.
- Shift + any key on musical keyboard to insert a note.
- Blue = move cursor. Shift + blue = erase notes.
- White = set sequence length pattern.
- Green = set swing (50% is no swing).
Pattern
Classic grid-type 16 step sequencer, primarily useful for sequencing drum patterns.
- Shift + any key on musical keyboard to insert a note. Hold shift until you’re done.
- Shift + blue = erase notes.
- Blue or < and > = move the vertical cursor line to insert or delete specific notes in a step.
- Green = swing. No swing = 50%
- Shift + green = shift all notes forward or backward.
- Red = switch between continuous (hold) and non-continuous.
- Shift + red = switch between the notes in the sequence being played back in right order, in reverse order, or in ping-pong order.
While the sequencer plays in HOLD (i.e. continuous) mode, switch to synth/drum/tape/mixer mode and
Sketch
Free form sequencer where you draw shapes by hand using the colour wheels.
- Blue & green = draw shapes
- White & red = move without drawing shapes
- Shift + green = change tempo
- Shift + white = show visual guide grid
- Shift + red = switch to continuous (hold) playback
Shake the OP-1 to erase the sketch completely.
Tombola
Create a random sequence. Set gravity, mass, and spinning speed. The harder/faster a note bounces, the louder the sound will play.
- Play a key on the musical keyboard to drop a note into the tombola.
- Red = adjust bounciness
- Green = adjust heaviness
- White = open the tombola and release notes
- Blue = speed and direction of the tombola spinning
Tape
OP-1 has a built-in tape feature with 6 minutes of recording time. It has 4 individual tracks. Press the TAPE button to enter tape mode. Then the function keys T1-T4 become track 1-4. The sound selection keys change into tape tricks 1-8.
Shift + Tape button: enter the tape erase function
Record to tape
- Select the sound which you want to record.
- Press the tape key to enter tape mode.
- Select a track (T1-T4) to record.
- Set recording level with the red wheel.
- Press REC + PLAY to start recording.
- Play the musical keyboard.
- Press STOP when done.
- Press REWIND to rewind the tape. Jump to the start or end with STOP + < or STOP + >
- Press PLAY to listen to your recording.
The tape always overdubs (layers) if there’s recorded material on the same track. To avoid overdubbing, lift any pre-recorded takes out from the tape location.
Mixer
Shift + Mixer button: takes you to the signal flow screen